
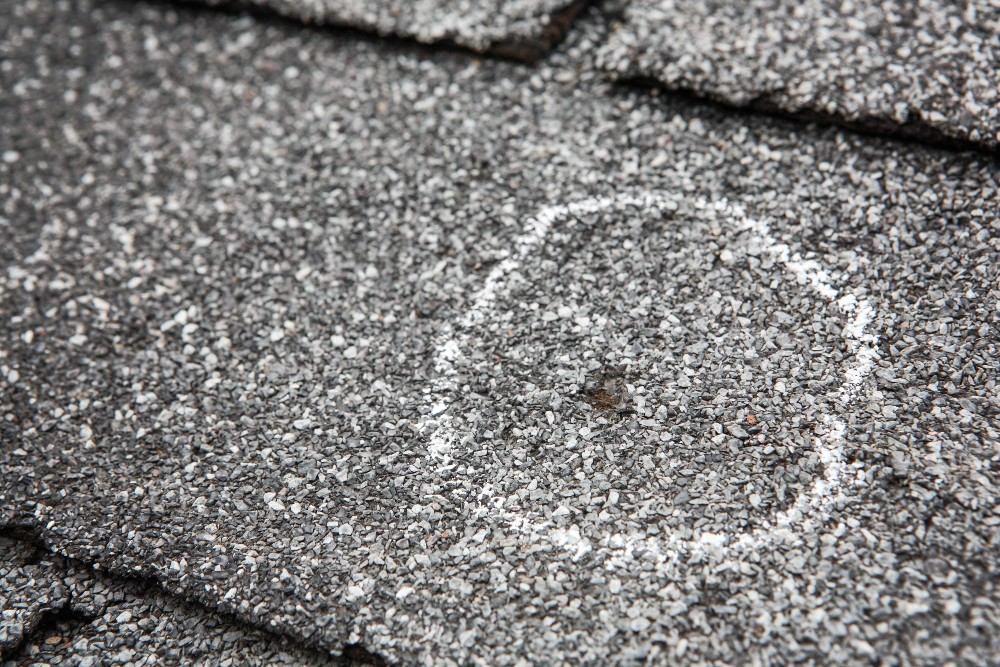
A hole in your roof can lead to serious water damage, mold growth and insect infestation. Ideally, you should contact a professional roofer to correct the problem. If you’re dead set on doing the job yourself, however, here are the steps you should take.
A Word of Warning
When done well, a good patch can buy you time before a total roof replacement is needed. If you have a basic level of carpentry experience and feel comfortable using a ladder, you may be able to complete a basic roof patch yourself. With that said, this sort of task is fraught with risk, not only to yourself but your home.
Inexperienced or impatient homeowners often suffer serious injuries when working with ladders and circular saws. They also tend to make subtle errors that allow water to seep into a home’s attic, where it can result in rot and mold growth that can cost thousands of dollars to repair. With this in mind, consider contacting a professional contractor to repair any sort of damage to your roof.
Thing You Will Need
- Rubber-soled shoes
- Extension ladder
- Prybar
- Gloves
- Shingles
- Hammer
- Circular saw
- Plywood (as thick as current decking)
- Liquid nails
- 2×4
- 8-penny (2-1/2-inch) nails
- 10-penny (3-inch) nails
- Tape measure
- Roofing nails
- Roofing cement
- Tar paper
- Putty knife
Step 1: Get Set Up
Set up your ladder and secure it in a safe place. Make sure the underlying ground is dry and stable, so the ladder won’t kick out. If you aren’t used to working on ladders or have a fear of heights, consider calling a professional roofing contractor to do the job for you. Haul all of your tools and materials onto the roof, one by one without overloading your hands. Work slowly and use care to avoid a dangerous fall.
Step 2: Remove Old, Damaged Shingles
Using a pry bar, carefully remove the old shingles from around the hole. Begin at the top and slowly work your way down. If you see any water damage, be sure to continue removing shingles until you see the end of the damage. Then, proceed to step three. If you don’t see any water damage (which is rare), use the claw side of your hammer to remove any remaining nails and then proceed to step eight.
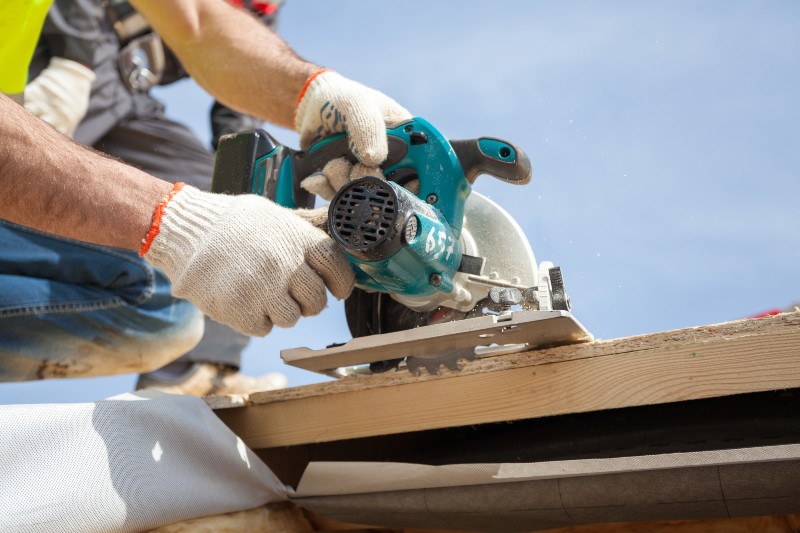
Step 3: Replace Damaged Wood
Before you can patch the roof, you will need to cut out and replace the entire area of damaged wood. Unless you are an experienced do-it-yourselfer, you may want to contact a professional to do this task. If you want to tackle the job yourself, use a circular saw to cut out the water-damaged plywood, being very careful not to damage the rafter. You might need to work on one small section at a time, cutting two separate holes to keep from cutting the rafter. Again, if you don’t have a lot of experience with this sort of project, call a professional to avoid injuring yourself or damaging your property.
Step 4: Create Framing
Using 2×4 boards, create a frame for the new plywood. If the damaged area is relatively small, you can affix the 2x4s beneath the existing good plywood with 2-1/2-inch nails. Extend the 2×4 braces the length of the hole (at minimum) on both sides, so the wood brace is approximately three times as long as the hole. If you’re dealing with a bigger hole, you’ll have to create framing by affixing the 2x4s to the rafters with 3-inch nails. You may also have to work from the attic to nail your 2×4 braces to the rafters.
Step 5: Patch the Hole
Measure the precise dimensions of the hole and then cut out a piece of plywood that matches exactly. Wearing gloves, apply the liquid nail product to the accurately cut plywood patch and place it into the exposed hole. Nail the fresh patch to the new 2×4 framing with 2-1/2-inch nails.
Step 6: Add Tar Paper
Using a broad-edged putty knife, spread your roofing cement across the seams where the fresh plywood connects to the existing roofing plywood. Once the roofing cement is in place, place tar paper atop the patch. (be sure to extend it beneath the top shingles by about 2 inches). Nail down the paper and move to step seven.
Step 7: Affix Shingles
Since shingles are made to overlap, work from the bottom to the top as you attach them, using roofing nails. Once you’ve firmly attached all of them to the plywood, prevent leaks by covering the nails with roofing cement.
As you can see, patching a hole in your roof isn’t as easy as you may think. Instead of going it alone, it’s almost always a better idea to delegate this important job to a reputable expert.
Need a new roof or help repairing weather-related damage? A to Z is ready to help. We’ve developed a widespread reputation as one of Colorado’s premier roofing contractors by providing reliable workmanship and attentive, honest customer service. Contact our team to learn more.
For more information on roof holes and leakage, be sure to read this related post: Does Insurance Cover Roof Leaks?