
If you’re thinking of applying new shingles to your roof, you should use caution. Even a minor mistake or tiny oversight can result in serious leaks that can lead to thousands of dollars in needless repair costs. This is why it’s generally best to rely on professionals who know how to do the job right. That said, if you’re planning to do it yourself, we’ve provided some basic steps to help guide you through the process.
A Word of Warning
Before you can lay your roof shingles, you will need to install a drip edge and apply an appropriate underlayment. If you don’t know how to do this, contact a professional. In fact, you should consider contacting a professional even if you think you might be able to wing it.
Inexperienced do-it-yourselfers often suffer injuries with these types of projects. They also frequently cause damage to their homes. If you make even the slightest error installing new shingles, you could end up with a slow leak. Over time, as water enters your attic, you are likely to end up with mold infestations that can lead to tens of thousands of dollars in mold remediation charges.
With this in mind, it’s always best to hire a reputable, local roofer with experience and expertise to do the job right. That said, if you’re dead set on trying it yourself, these are the steps you should take.
Installing Your Shingles
Things You’ll Need
- Chalk line
- Tape measure
- 30-foot tape measure
- Hammer
- 1 1/4-inch galvanized roofing nails
- Rafter Square
- Utility knife
1. To begin installing shingles, line up your aluminum drip edge so it sits flush against the roof edge; then, draw a pencil line at the top at both ends of the house.
2. To get a reliable, straight edge, snap a line between the two marks, using your chalk line.
Pull the drip edge down approximately a half inch from the line to make a gap between the fascia board and the drip edge.
3. Secure the drip edge by hammering in 1 1/4-inch roofing nails. Repeat these steps for every gabled end, installing your drip edges up the edge of the roof along the gables.
4. Spread out your roofing felt paper and secure it in place using 1 1/4-inch roofing nails. Lay out the shingle design beginning at the bottom of your roof. Measure one-half inch from the roof edge so the shingles will slightly overhang the drip edge.
5. Mark exactly 12 inches up on the rooftop for the initial course of shingles, then mark all the way up in 5-inch intervals to establish your reveal. Repeat this on the other side of the roof.
6. Using your chalk line, snap a line on every 5-inch increment.
7. Using your chalk line, snap a vertical line every 6 inches.
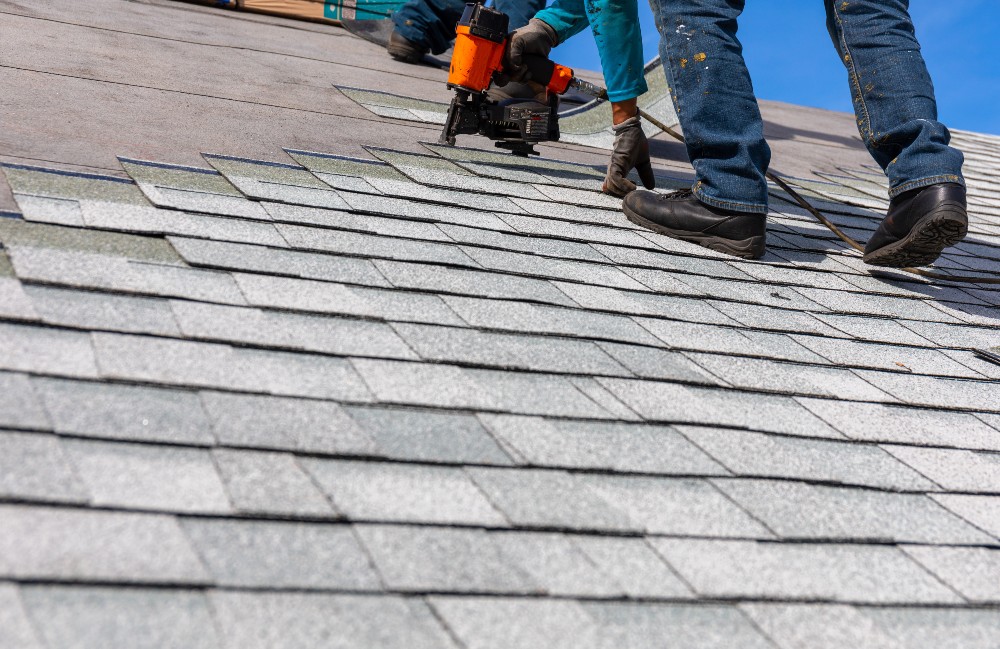
8. Install an initial starter course by shearing off the three tabs on a shingle, leaving just the top tar section.
9. Work your way up and across, staying mindful of good nailing technique, so your nails will hold the top edge of each course. For instance: Hammer a single nail about 2 inches from every end of each shingle. Then secure the next nail about one inch above every cutout. Your next course should vertically cover the nails by an inch.
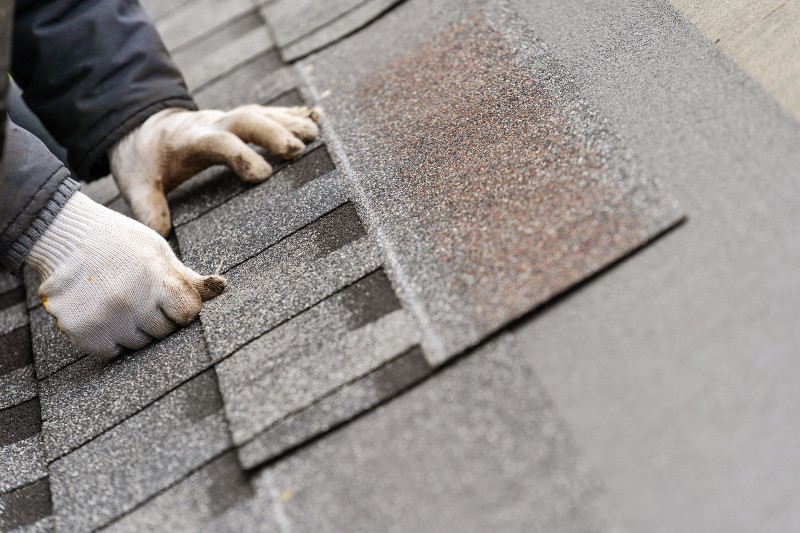
10. Continue on, lining each shingle against the next and nailing it into place. Follow the instructions specified by the shingle manufacturer since every shingle style has a specific cut pattern.
11. Trim your final shingle on each row to the appropriate size, repeating as you approach the ridge. Once you arrive at the ridge, bend the shingles over, so each side is equal. Then, nail them down with one nail on each side.
12. Repeat with the next shingle, continuing until you reach the far edge of the roof ridge.
Cut the final ridge shingle to the appropriate length, but be careful to make sure no area of the roof is left exposed.
As you can see, installing roof shingles isn’t as easy as you might think. Instead of attempting it alone, it’s almost always safer to delegate this critical job to a reputable expert.
Whether you need a new roof, a restoration or help repairing weather-related damage, A to Z Roofing is here to help. We’ve established a widespread reputation as one of the region’s premier roofing contractors by providing expert workmanship and timely, honest customer service. Contact our team to learn more.