
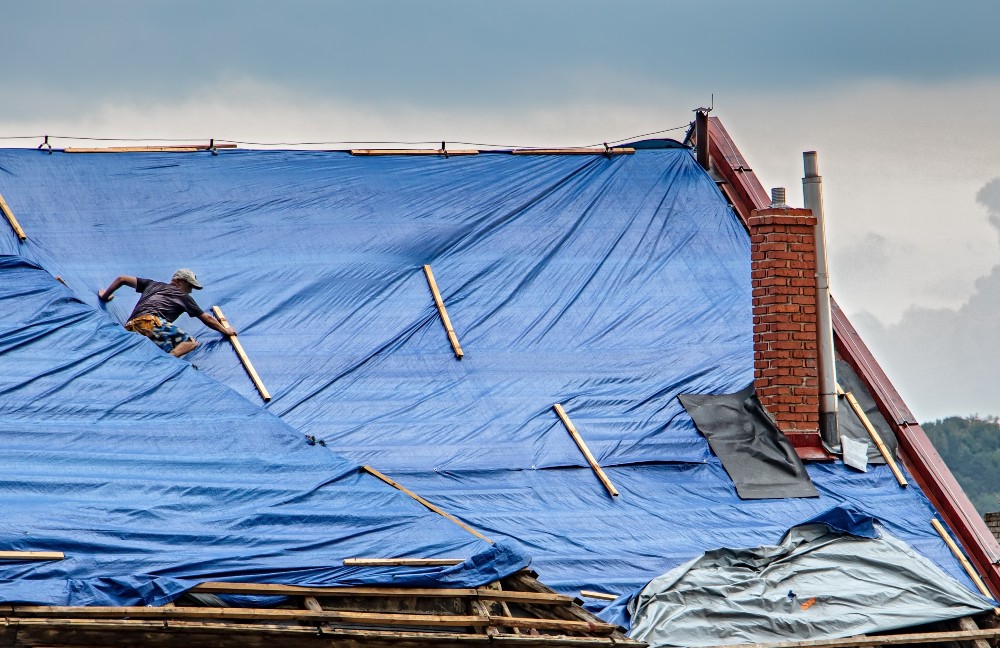
If your roof has recently been damaged by fire or harsh weather, you may need a temporary solution to keep rain and debris from entering your home. When properly installed, roof tarps can protect your home from rain and snow for up to three months. Read on to learn the proper way to apply and secure a tarp to your roof.
A Word of Warning
Tarping a roof can temporarily protect your home from the elements until you can get the damage repaired. That said, it’s best to contact a reputable roofer as soon as possible. Even a small leak can lead to thousands of dollars in repairs if water is able to enter a home. While a tarp can help, it can also fail especially if more wind or harsh weather is expected.
In almost every instance, it’s best to have a tarp placed by a professional. If you do choose to try it yourself, don’t attempt it alone. This is at least a two-person job. Ask a friend or family member to work with you to streamline the process and reduce the risk of injury.
Also, remember that tarps can get very slippery, even when they are dry. Try to avoid walking on the tarp; instead, roll it out while standing on the ladder or bare roof. It’s generally best to do the majority of the work while standing on your ladder if possible.
Inspect the Roof
Before you can apply tarp you need to inspect the damage and prepare the roof.
- Monitor weather conditions and postpone your plans if high winds or rain are expected.
- For support and safety, recruit a friend to help you clean, inspect and tarp your damaged roof.
- Wear safety equipment, including goggles, gloves, slip-free footwear and thick, protective clothing.
- Use an extension ladder to climb onto the roof.
- Closely inspect the area for torn or missing shingles.
- If you have an especially slippery or steep roof, inspect the damage from your ladder.
- Slowly clean away any debris using a broom. Remove leaves, branches and other large pieces of rubble by hand.
Measure
- Use an accurate measuring tool to calculate the precise surface area of the damaged portion.
- Write down your measurements and select a heavy-duty tarp that’s big enough to accommodate the damaged area.
- When fully unrolled, the tarp will need to entirely cover the damaged area while providing at least four feet of overhang from the peak of the roof.
- Any excess, unused tarp can hang over the edge of the roof.
Position the Tarp
- Partially unroll your chosen tarp to cover up the damaged section from the roof’s peak to its eaves, making sure to leave at least 4 feet of tarp on all sides.
- Craft a secure anchor board by rolling a sturdy 2×4-inch board inside the peak end of the tarp.
- Fasten the tarp to the board by hammering in 3-1/4-inch nails. Screw the board to the roof as a temporary anchor. The 2×4 must be about 2 feet longer than the width of the tarp and sit flush against the roof to prevent rainwater from collecting.
- To keep the tarp tight and protective, nail a second 2×4 board over the first one, effectively sandwiching the tarp.
- Repeat these steps for the tarp’s other remaining peak ends.
Fasten the Tarp
- Work slowly to secure the tarp to prevent water seepage and flapping.
- Start by securing your four tarp-rolled boards to the roof using 4-1/2-inch screws.
- Fasten the remaining sides of the tarp with more 2×4 boards using screws and a drill or screw gun. You don’t need to roll these boards into the tarp.
- Bear in mind that every edge of the tarp needs to be fastened down to keep wind and water from finding their way beneath the covering.
Things to Consider
Roof tarping is only a temporary solution to shield your home’s interior from further damage. If you wait too long to schedule repairs, you could end up with wood rot and mold infestations, which can seriously disrupt your life and seriously damage your finances. As soon as you can, be sure to have your roof repaired to prevent additional damage that could result in tens of thousands of dollars in further repairs.
A locally owned Colorado company, A to Z Roofing specializes in reliable residential roofing and repair. A trusted, reputable contractor, we’ve been operating continuously all throughout the Front Range for nearly three decades, serving the needs of Colorado residents and business owners. Contact our team of skilled professionals to learn how we can restore, repair or replace your damaged or aging roof.