
Solar energy is an eco-friendly way to lower your utility costs. Ideally, installation is best left to professionals who have years of experience and considerable expertise. If you have the skill and confidence to try it yourself, however, these are the steps you should take.
Make Sure Your Roof Is Ready
Before installing your panels, you should make sure your roof is in very good shape. Since solar panels are meant to last for up to 25 years, it’s best to have a newly installed roof that will last just as long.
If your roof is damaged or old, make repairs or have it replaced before mounting the panels. Early renovations will save you the cost and trouble of having to remove the panels and remount them after repairing or replacing your roof.
You also need to determine if your roof can even support the extra weight of solar panels. Most are not that heavy; in fact, many will only weigh up to 2.7 pounds per square foot. To be safe, however, you can invite a structural engineer out to your home to make sure your roof is strong enough.
Installing Your Panels
Once your roof is ready, you can start the installation process.
Step 1. Layout Your Materials
First, make sure all the required items are nearby so you won’t have to needlessly climb up and down your ladder. In most instances, you will need the following:
- Drill
- Drill bit
- Pencil
- Chalk line
- Tape measure
- Ladder
Everything else should come along with your solar panel package.
Step 2. Affix the Stanchions
Make sure the structure is adequately tilted to get the most sun exposure (at least an 18-degree angle).
Look for the ideal place to affix the stanchions, which support the panels so they won’t be torn away from the roof. Similar to screws, your stanchions need to be placed on the roof’s rafters. If you aren’t sure where the rafters are, use your home’s blueprint to find them.
Once you locate your rafters, attach the stanchions. The distance from one stanchion to the next should usually be four feet. Drill holes in the rafters to affix each stanchion.
Step 3. Install the Flashing
Raise the shingles and slip the flashing beneath them. Attach the flashing to the rafters using a bolt. The flashing will prevent water from entering your house through the drilled hole. Aside from the flashing, the bolts will also have a seal designed to prevent leakage.

Step 4. Attach the Rails
Fit the screws in the drilled holes and carefully tighten them. Then, use bolts to secure the lower and upper rails to the stanchions. A good impact driver will help ensure that everything is adequately fastened.
Step 5. Measure Between Rails
Make sure the rails are parallel by using a measuring tape to measure the distance between them. The diagonal distance between each one should be exactly equal. If the measurements are not equal, balance the rails until the numbers add up.
Step 6. Add Your Middle Rail
Place the middle rail so it runs from the upper rail to the bottom rail. Take care to make sure everything is even and precise.
Step 7. Focus on the Wiring
If you’re not comfortable working with wiring, consult a professional. You should also consult your product specifications to make sure the below general guidelines are appropriate for your solar panels.
You will need to set up a power inverter kit beneath each panel. Then, make sure copper wires are on each kit. Your connections should be in and out of the solar arrays. Pull the wires from your solar panels to an electrical meter and then out to an electrical sub-panel. Run the wires through the rail to the power inverter kits.
Step 8. Mount Your Solar Panels
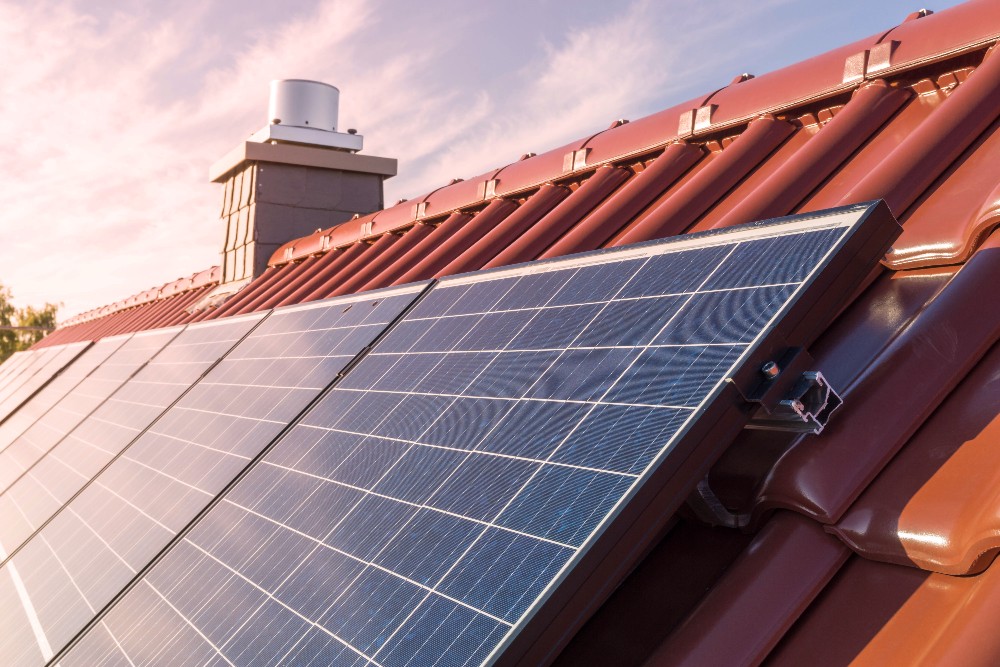
Once everything is ready, go ahead and mount your solar panels on the stanchions. Make sure all the plug connections are linked. Then, attach the retaining clips to the rails to securely fasten each panel in place.
Step 9. Connect to Inverter
Shut off your home’s power supply before connecting the solar panel system to your home. Then, connect your inverter to the power system. The inverter will convert your solar energy from DC energy to AC energy. Make sure the inverter is not located in a hot place. If it is located outdoors, for instance, avoid the hot afternoon sun.
Connect the inverter to the battery, which produces energy when it’s cloudy. Then, link the solar inverter to the fuse board, also known as the consumer unit, which will protect you in case of an electrical emergency.
Need a new roof or repairs to get your home ready for solar panels? Contact A to Z Roofing. For decades, A to Z has provided expert residential and commercial roofing, restoration and repairs for communities throughout Colorado. A locally owned business, we’ve operated continuously throughout the whole Denver metro area and Front Range for nearly 25 years. During this extensive time, we’ve served countless homeowners and local businesses, providing reliable service using high-quality products. Contact our attentive professionals for a free estimate, and learn how we can repair, restore or replace your aging or damaged roof.