
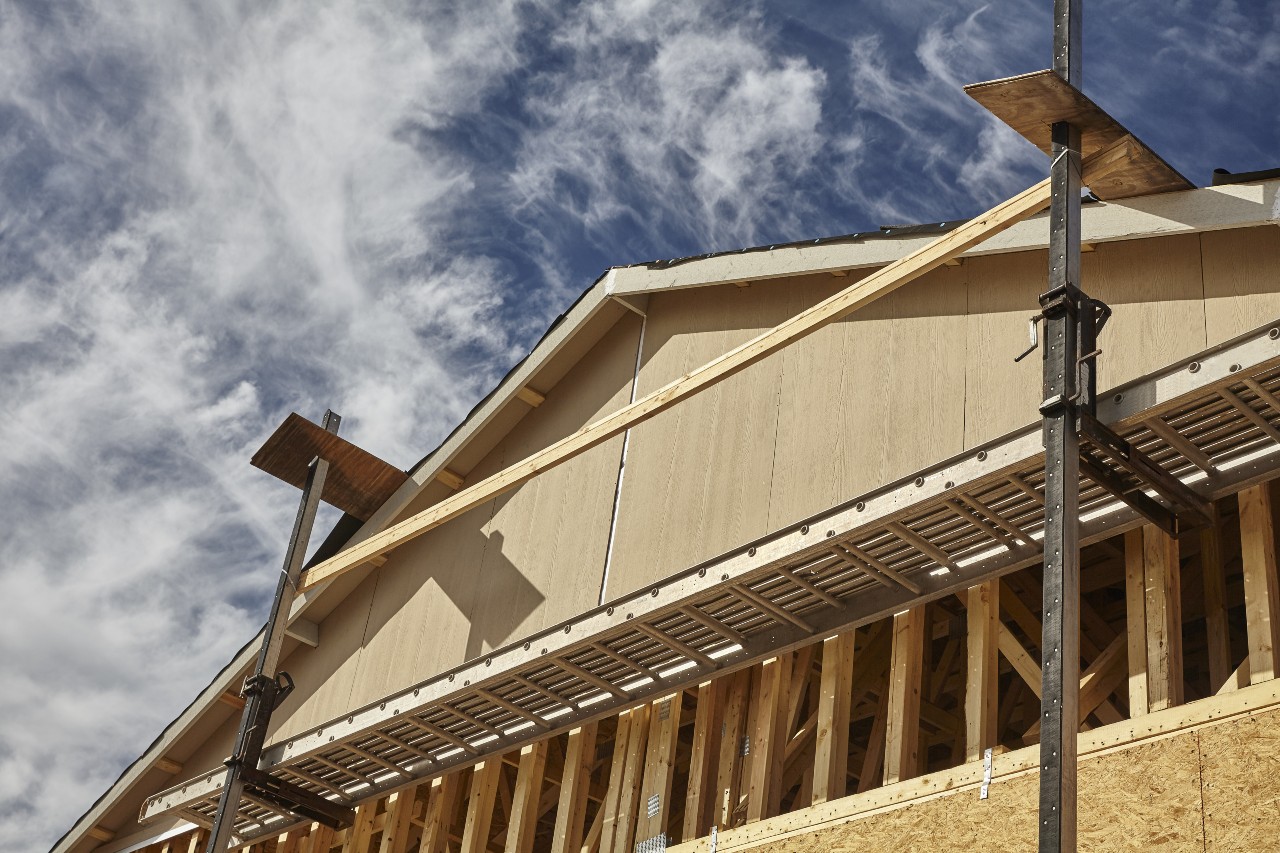
Roof jacks are planks that create stable, flat surfaces where workers can safely stand. Here’s how you can use them for your next project.
A Word of Warning
When properly placed, roof jacks can make roofing projects easier and safer. If you have a minimum amount of experience and feel comfortable using a ladder, you may be able to install them and complete your project on your own. With that said, this sort of task does come with risk, not only to yourself but your home.
Impatient and inexperienced homeowners often suffer serious injuries when working with extension ladders. They also tend to make major or subtle errors that allow water to leak into their attics, where it can promote rot and mold growth. With this in mind, consider reaching out to a professional contractor to help with your roofing project.
If you’re dead set on trying it yourself, however, here are the steps your should take:
Step 1: Assess your needs.
Carefully set up your extension ladder by the side of your roof and double-check to ensure that it is very stable and secure. Slowly ascend the ladder and make sure you will be able to reach the sloping part of your roof.
Step 2: Determine proper placement.
Decide on the best place to affix your first roof jack. It will typically be placed on the fourth or fifth row of shingles. That said, some prefer to place the first roof jack near the edge of the roof. It essentially depends on your personal comfort level.

Step 3: Place the first roof jack.
Be certain that the diagonal holes on your first jack are located at the top portion of the shingle. Drive an appropriately sized nail into each slot, and hammer it down so it’s level with the metal of your jack. Be sure you don’t drive it too far into your roof or you could cause damage. Next, hammer another nail at the bottom portion of the jack to secure it on both ends. At this point, your first jack should be installed.
Step 4: Repeat step three.
Keep placing your jacks at secure points across your roof. Be sure the jacks are evenly spaced approximately 2 feet apart. Be careful not to place them too far apart or they won’t be able to provide optimal support.
Step 5: Place the planks.
Once you’ve placed a few jacks on your roof, you’re ready to place wooden boards between them. This will serve as the platform where you will stand while accomplishing your project.
Step 6: Add more jacks.
Once you’ve finished working on a specific area, you can add more jacks to help you access higher portions of your roof. You can also remove and reset the ones you don’t need anymore. It helps to have more wooden boards already placed, so you can move freely in a horizontal manner.
Step 7: Remove your jacks.
Once you’ve completed your project, remove your jacks by hammering them upward until they come free. The jacks should slide out relatively easily. In most instances, the nails will be hidden by the shingles, and you will not need to remove them.
A-to-Z Roofing and Exteriors is here to help
Extra Tips
While you’re on your ladder and wood planks, take the opportunity to carefully inspect your roof. Look for any loose shingles and faulty flashing. When they go unnoticed, even minor leaks can lead to serious damage. Over time, you could end up with mold infestation and structural rot as moisture enters your attic. This can be a significant issue, especially if the leak goes unnoticed for some time. Many people are shocked to learn that mold infestations can result in remediation costs that exceed $5,000 to $10,000. This is why it’s so important to have your roof inspected annually by reputable roofing professionals.
Need help with a roofing issue? For decades, the professionals at A to Z Roofing have served countless satisfied customers throughout the Denver metro and the Front Range. For nearly a quarter of a century, we have been the go-to source for expert residential roofing, repair and restoration for homeowners and businesses throughout Colorado. During this time, we’ve provided comprehensive service using only top-quality products. Contact our attentive team to learn how we can restore, repair or replace your damaged or aging roof.
-
What are Fiberglass Roof Panels?
If you’re looking to allow more natural light into a space, while cutting down on utility costs, fiberglass roofing panels are an efficient, durable and low-cost solution. Read on to learn more about this versatile roofing material. What Are They? Sometimes called skylight roofing panels, fiberglass roof panels are thin, translucent, lightweight panels installed on…
-
Concrete Tile Roofs: Pros and Cons

Concrete tile roofs are popular among homeowners who want a durable, versatile roofing option that will stand the test of time. Here are the most noteworthy pros and cons associated with this roofing material. What Are They? Concrete roof tiles are a strong, versatile roofing material seen on countless homes throughout America. They are made…
-
Renew Your Old Roof with Gaco Silicone Roof Coating

Gaco silicone roof coatings are cost-effective long-term alternatives to complete roof replacement. Read on to learn the many benefits associated with these efficient, reliable commercial roofing solutions. What Are They? Founded in 1955, the Gaco family of brands offers best-of-class solutions for many residential, industrial and commercial applications including specialty coatings for roofs. With GacoFlex…