
EPDM roofing is a durable type of roofing material with many benefits, primarily used to finish commercial roofs with little to no pitch. Read on to learn how this modern style of rubber roofing is installed.
Surface Preparation
Successful EPDM roofing installation depends on a clean surface. This means removing any grease, dirt, debris and other potential contaminants. The surface will also need to be completely dry. Asphalt layers and other existing coverings must be removed prior to application.
If you have a commercial roof with ponding or drainage problems, you’d be well advised to call a professional roofer for assistance. Installing a new EPDM roof on damaged, faulty or unlevel roofing will only lead to more problems. Experts can re-level or replace the existing roof surface so it will remain durable over time.
Pre-Installation
To keep sheets straight and minimize the risk of creases or bubbles, it’s important to measure and mark the project area using a pencil or chalk. A roof needs a minimum amount of EPDM membrane to completely cover it. It also needs a thick overhang for the roof edge and any adjacent walls.
During the pre-installation stage, you will need to install the drip batten and back trim at the edge of the roof to direct water over the gutter.
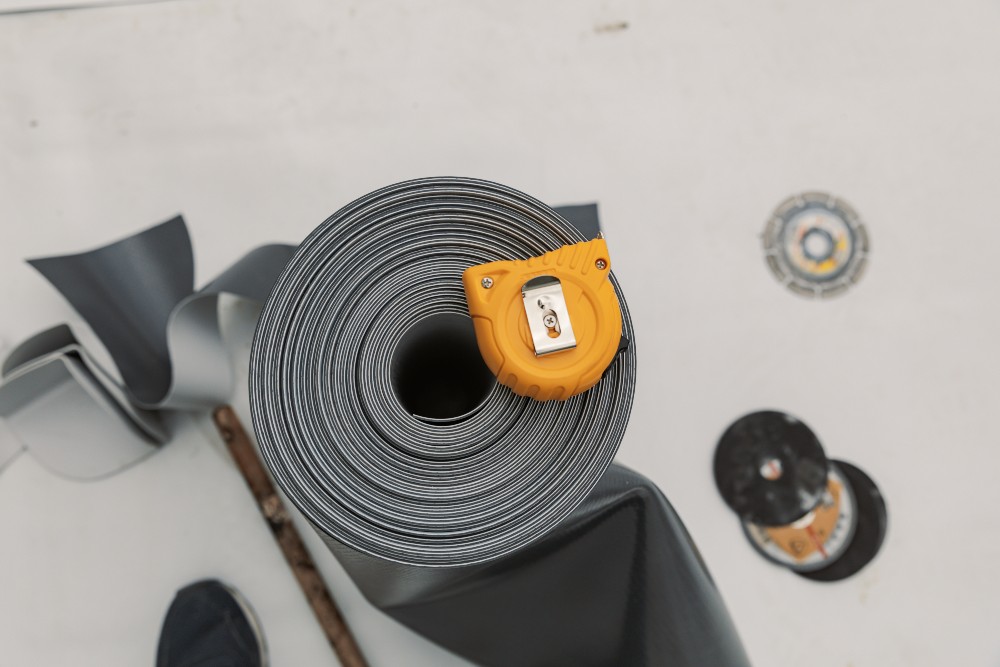
EPDM Sheet Prep
EPDM’s versatility means that many roofing projects can be accomplished with one, seamless layer. For commercial roofs over 50 feet in width, it’s best to call a professional for assistance, since poorly installed seams are a major cause of moisture damage and costly leaks.
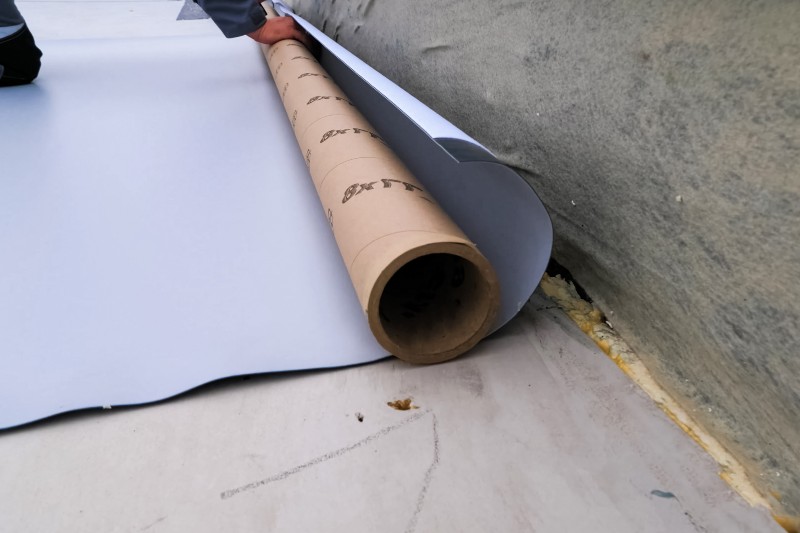
The EPDM membrane will need to be unfurled completely and spread flat over the roof surface. At this point, the installer begins the so-called “rest” phase, where the rubber slowly expands on its own. On a typical warm day, this will take around half an hour.
EPDM Application
Once the EPDM sheet has fully rested, installation can begin. In general, it’s best to only work with half a sheet, starting with the edge facing the wall and working towards the edge of the roof. When using a water-based adhesive, the installer uses a paint roller to spread the adhesive onto the roof in three- to four-foot sections across the leading edge. While the adhesive is wet, the installer rolls the EPDM sheet forward before moving on to the next portion.
When using bonded adhesive, the installer must apply the sticky material to both the membrane and the roof surface.
After rolling out the membrane, the installer must immediately brush the entire surface with a shop broom to eliminate any bubbles and ensure a stronger bond.
Once half of the EPDM membrane is fully applied, the installer can continue with the next half, using the same technique, while leaving a nice narrow border at the edge of the roof for the final finishing portion.
Final Touches
Although they aren’t particularly large, the final edges involve several processes:
- Removing any and all excess membrane
- Applying bonded adhesive to the wall edges and roof
- Using silicone sealant to seal all trim
- Affixing the gutter trim, wall trim and drip edge using screws
- Making watertight seals for equipment that penetrates the roof
- Sealing corners using Elastoform or some other pressure-sensitive flashing
When performed properly, these final steps leave an EPDM roof ready to hold up to harsh weather conditions for decades.
The Bottom Line
EPDM is a great modern roofing option for many businesses and some homes. A properly installed EPDM roof can remain functional and quite durable for up to 40 years or longer. With its impressive lifespan, this type of roofing material is an intelligent investment, as long as it is properly installed and your structure fits the requirements.
For the optimal results, it’s always best to hire a qualified, reputable local roofing contractor to install your EPDM roofing. It’s also important to make sure your roof is suitable for EPDM roofing before you even think of having it installed.
Due to its distinctive traits, EPDM is most appropriate for commercial roofs with only a slight slope. Buildings with steeply pitched roofs are generally not good candidates for EPDM unless the structure is re-engineered to have a lower pitched roof. If you aren’t sure whether your roof is a good candidate for EPDM, get a professional assessment from the experts at A to Z Roofing.
Need a new roof for your home or business? A to Z is ready to help. Hoping for budget-friendly repairs for weather- or age-related damage? We can do that too. At A to Z, we’ve spent decades earning a widespread reputation as one of the state’s leading roofing contractors. How? By providing skilled workmanship and honest customer service. Contact us to learn more and get your free estimate.