
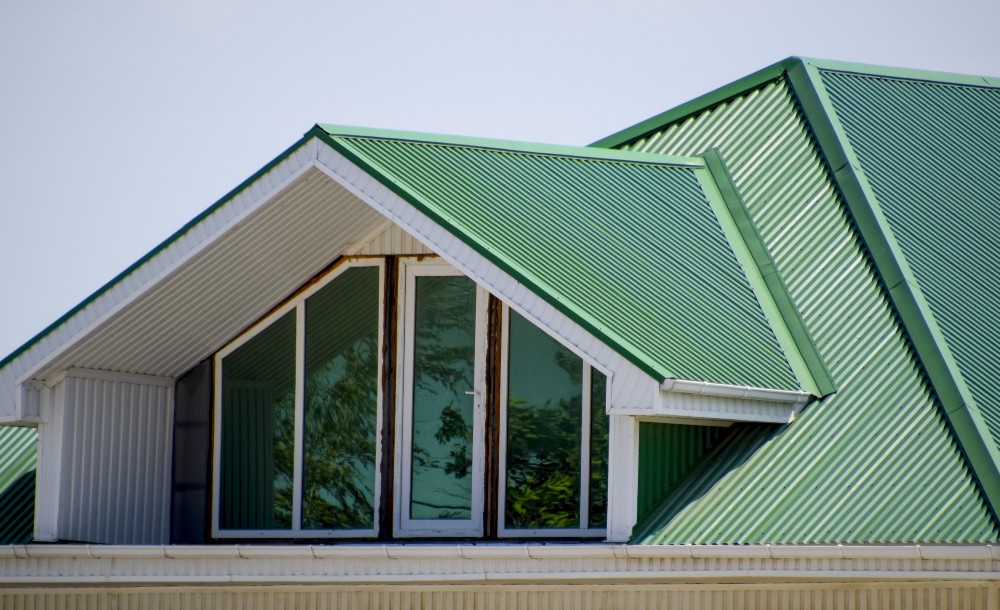
Thinking about installing a corrugated metal roof? This is a job best left to the skilled professionals at A to Z Roofing. If you’re dead set on giving it a try, however, it’s important to know the proper steps. We’ve provided a detailed step-by-step process, along with a warning about potential mishaps that can occur along the way.
Measure
To ensure that you have the right amount and length of materials, you need to measure your roof to determine the square footage. You will also need to measure the length of every section from the ridge all the way to the eave’s outer edge. This will help you determine the necessary length of each panel.
For a typical gable roof:
- Measure from the rake or point of the roof to the outer edge of the eaves.
- Then, measure from one side of your roof to the other; include the eaves on both ends.
- Multiply these two measurements to get the total area of one side.
- Double this number to get the roof’s total square footage.
- Order your roofing supplies based on this total, but add at least 10% to account for waste.
- Try to get an adequate length of panels to prevent seams.
- Be sure to order appropriate roofing screws that match the metal color.
Remove Old Roofing
While you can install your corrugated metal roof over existing asphalt shingles; it’s best to remove the existing roof so you can inspect and, if necessary, replace the flashing and sheathing.
- Remove old shingles, vents, underlayment and flashing, starting at rooftop and moving downward.
- Remove or hammer down exposed large nails.
- Inspect the exposed sheathing and make any necessary repairs.
- Install a fresh layer as per the instructions provided by the material manufacturer.
Pre-Installation
Before you can add the metal panels, you need to install closure strips and drip edges.
- Install your drip edge along the rake and eaves, using 1 1/4-inch galvanized roofing nails. Nail into the sheathing approximately every 16 inches.
- After installing the drip edge, apply sealant tape about an inch in from the very edge of your roof’s drip flashing and along the top of the drip edge.
- Strip off the top backer paper and apply an inside closure strip over the tape. Be extra careful not to accidentally stretch flexible strips or they won’t properly align with the panel.
Installation
Now it’s time to install your metal roofing panels.
- Align the first panel so it’s square to the roofline, overlapping the edging by around 1/2 to 3/4 of an inch.
- Always lay down the larger edge so the small edge of the following panel overlaps it.
- Place screws according to the panel manufacturer’s guidelines. Note that some want the screws placed flat; while some ask you to drive fasteners into the ribs.
- To prevent buckling, begin at the eave and work toward the ridge.
- Be careful not to overtighten the screws to prevent any bulging.
- Apply silicone sealant all along the bottom side of the next panel’s short edge. Install the next panel so the short lip is overlapping the large one.
- Screw the panel in place and continue until the roof is fully covered.
- When necessary, cut panels to fit awkward angles, using tin snips or a circular saw with an appropriate blade.
Add a Ridge Cap
To install a ridge cap, you will first need to add an outside closure strip. Choose a solid or vented closure strip based on your roof design. If your roof isn’t made to have a ridge vent, you can use solid closure strips.
- Place the ridge cap so it evenly laps both sides of the roof and use chalk to mark its place on the metal. Remove the ridge cap.
- Apply a strip of sealant tape along the length of the entire ridge, up from the chalk line by the distance suggested by the manufacturer (usually about 1 inch). Repeat on the other side of the roof.
- Run the closure strip along your sealant tape, making sure to fit it tightly over the metal panel’s contours. Repeat on the other side of the roof.
- Run a second strip of sealant tape along the very top of your closure strip on each side of the roof.
- Install your ridge cap based on the manufacturer’s suggestions.
As you can see, installing a corrugated metal roof isn’t as easy as you may think. Instead of trying it alone, it’s almost always safer to get help from a reputable expert.
If you need a new roof, A to Z is here to help. We’ve developed a well-earned, widespread reputation as one of Colorado’s leading roofing contractors by providing reliable, expert workmanship and honest, attentive customer service. Contact our team to learn more and get a free estimate on your next roofing project.