
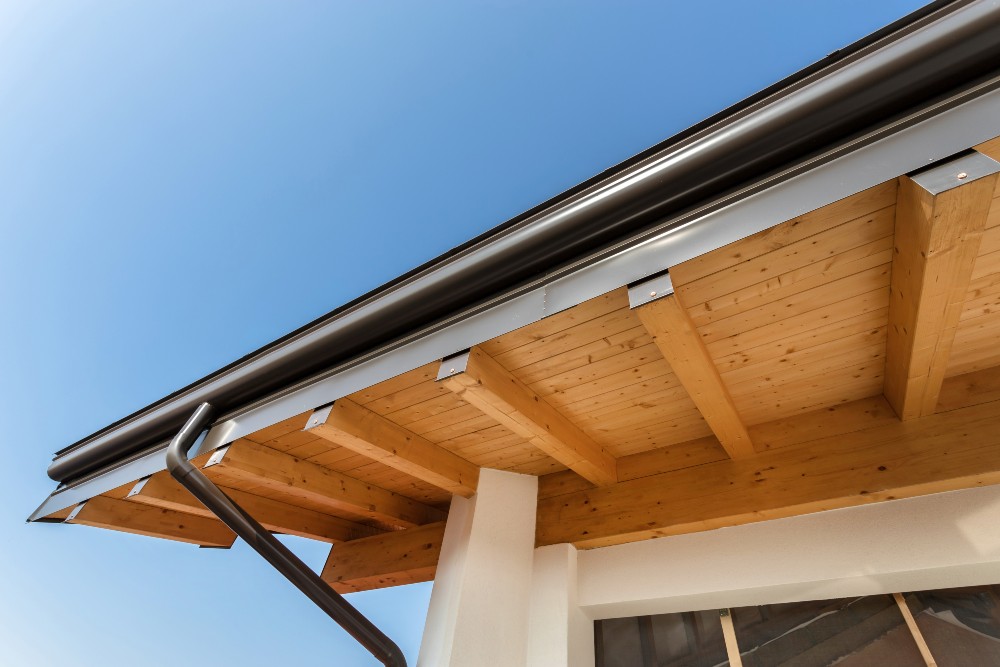
A roof overhang protects the underlying structure from rain and weather. If your house doesn’t have one, or the existing overhang is too short, you should do something about it right away. Ideally, it’s best to leave these types of projects to professionals who know how to avoid common pitfalls. If you’re committed to trying the job yourself, however, these are the steps you should take.
A Word of Warning
When done well, a new overhang can help protect a home from weather-related damage. If you have a good amount of carpentry experience and feel comfortable working from a ladder, you may be able to complete the task yourself. With that said, the job does come with risk, not only to yourself but your home.
Inexperienced homeowners often suffer serious injuries with these sorts of projects. They also frequently cause accidental damage to their homes. What’s more, even if you are able to successfully frame a new overhang; blending it into the existing roof requires some expense and know-how.
With this in mind, consider contacting a professional contractor to construct your new overhang so you can be sure the job is done safely and correctly.
Prepping the Roof
To gain access to the rafter tails, you’ll need to remove the fascia boards that cap the ends of the rafters. You will also need to remove any other finish pieces covering the rafter tails, along with the top plate of the home’s exterior wall. If, after removing the fascia, you see there’s not enough room to work within the attic to extend your rafters, you will need to remove the roof shingles and sheathing from the lower part of the rafters. This will expose the rafters enough to give yourself room to work.
Again, if you don’t have a lot of experience with these types of projects, it’s best to stop before you get in over your head. In almost every instance, it’s safer to hire an experienced roofing contractor who can do the job right without inadvertently damaging your home.
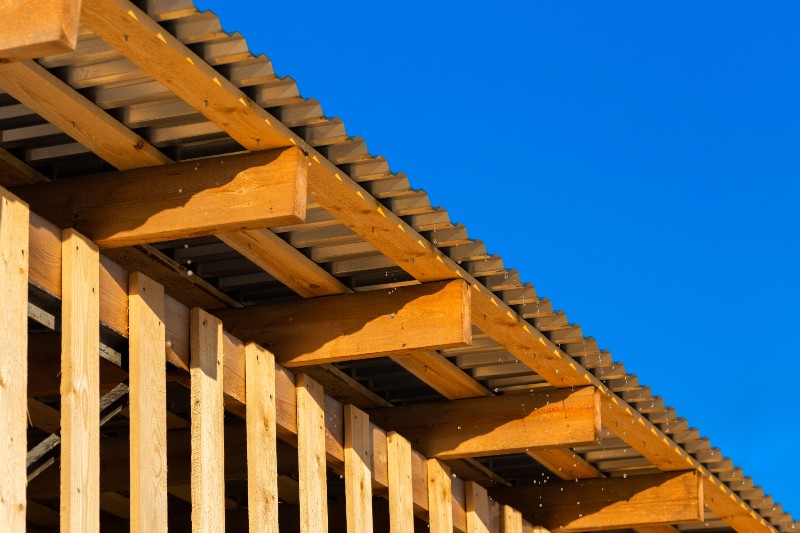
Extending Your Rafters
To extend the overhang of your roof, you will need to provide plenty of underlying support. This means extending your rafters. Be sure to cut your rafter tail extensions about three times the length of the final overhang that you plan to add. You should also be sure the lumber you use is the same size as your home’s existing rafters.
Once you have them cut, position the new extensions so about two-thirds of their length overlaps the existing rafters. The remaining one-third should extend outward to define the new overhang. This new overhang should be no more than two feet to ensure that it will be well supported. Nail the new extensions to the rafters using 16-penny exterior nails spaced approximately 6 to 8 inches apart.
Adding Soffits and Fascia
Now that your rafter extensions are firmly in place, you need to finish out the new overhang. Start by attaching a new 2×4 sub-fascia board along the new rafter tails. If you would prefer enclosed eaves, install a horizontal soffit spanning the underside of the overhang between the exterior wall and the fascia. This will enclose the space beneath the overhang.
To construct a soffit, attach a 2×4 nailer board to the exterior wall of the home, being sure to make it level with the bottom edge of the fascia. Attach one 2×4 for every rafter tail, keeping them perpendicular to the fascia board. Nail one end of each 2×4 to the rafter tail and the other to the nailer.
Finish the soffit by nailing an appropriate soffit material to the framing; then, add a 1×6 fascia board over the sub-fascia.
Roofing the New Overhang
Once the overhang is framed, you need to cover the rafter extensions (and any part of the roof where you’ve removed sheathing) with a fresh layer of plywood sheathing. Make sure this new plywood is within 1/8 inch the thickness of the existing roof sheathing.
The best way to integrate the new overhang into the roof is to remove the underlayment and shingles from the entire roof and put a brand new roof on the entire home. If, however, money and time prevent this, you will have to do your best to match the existing shingles with the new ones you use to cover the new overhang.
Start by installing a new metal drip edge along the edge of the new overhang. You can then lay a course of new shingles along the lower edge. Work upward with the remaining courses until you reach the existing shingles. At this point, slip the final row of new shingles beneath the old shingle tabs.
As you can see, extending a roof overhang isn’t as easy as you may think. Instead of trying it alone, it’s almost always safer to delegate this important task to a reputable expert.
Whether you need a new roof, an augmentation or help repairing weather-related damage, A to Z is here to help. We’ve developed a widespread reputation as one of Colorado’s premier roofing contractors by providing reliable workmanship and attentive, honest customer service. Contact our team to learn more.